Introduction
Terraform is the go-to open-source tool for creating resources on the cloud using IaC. It is a cloud-agnostic offering from HashiCorp that can help you build out your infrastructure on AWS, GCP, Azure, and OCI, to name a few. Terraform supports 290 providers as of today.
Terraform achieves IaC by providing a declarative YAML syntax for creating cloud resources. These YAML files act as an abstraction layer between provider-specific APIs which allows you to define what you want in YAML and let Terraform do the rest. Terraform resources are typically a 1-to-1 representation of your cloud resources.
But at some point, creating resources every single time in Terraform becomes unmanageable, and you may even want to standardise resource creation based on your organisation’s guidelines. For example, a typical AWS EC2 server will require the EC2 itself, security groups, VPC and subnet configurations, resource tags, disk configuration, etc., and creating new resource definitions for these every time can become painful.
That’s where modules come in. Terraform modules allow you to combine multiple resources and parameterise them for re-use, which helps to create cookie-cutter resource templates that adhere to a single standard. So you can create a module named My-Companys-EC2-Server and pre-define values for a default set up and then override these values for different use-cases. In case your guidelines or standards change, you can quickly modify them in one place.
What is Terraform Registry?
Terraform took the modules concept to the next level by defining a free marketplace for modules called Terraform Registry. Given that a lot of the necessary infrastructure we need is very similar, you can find a module for your requirements in the Registry.
I’m going to walk you through the process of creating a VPC using a module from Terraform Registry.
Terraform VPC Module
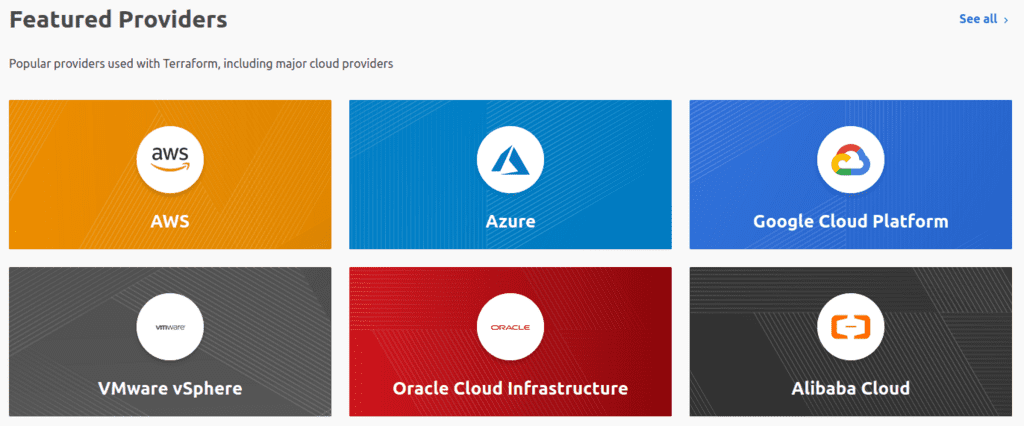
First, visit the Terraform Registry page and scroll down until you see the Featured Providers section.
Once there, select AWS. The next page will list all of the public modules available for the AWS provider. Scroll down the page until you see the VPC module (the one with 5 million installs!). The module is very well documented with plenty of examples to get you started. It handles several advanced cases as well, such as creating different subnet groups for database services, creating VPC endpoints for various AWS services, and even creating NAT gateways for each subnet or each AZ.

Let me demonstrate by creating an example VPC for hosting an EKS cluster.
Creating a VPC for AWS EKS
Creating a VPC for EKS has the usual requirements: we need to specify a VPC CIDR, the subnet masks for public and private subnets, the settings for DNS hostname support, and any resource tags we want to apply. But there is one extra configuration for EKS which requires tagging public and private subnets separately so that EKS knows where to create external and internal load balancers.
To implement the above requirements, let’s create the following main.yml file:
module "vpc-ayushsharma-in" {
  source = "terraform-aws-modules/vpc/aws"

  name = "vpc-ayushsharma.in"
  cidr = "10.0.0.0/16"

  azs             = ["ap-southeast-1a", "ap-southeast-1b", "ap-southeast-1c"]
  private_subnets = ["10.0.1.0/24", "10.0.2.0/24", "10.0.3.0/24"]
  public_subnets  = ["10.0.101.0/24", "10.0.102.0/24", "10.0.103.0/24"]

  private_subnet_suffix = "pvt"
  public_subnet_suffix  = "pub"
  public_subnet_tags = {
    "kubernetes.io/role/elb"                   = 1
    "kubernetes.io/cluster/eks-ayushsharma.in" = "shared"
  }
  private_subnet_tags = {
    "kubernetes.io/role/internal-elb"          = 1
    "kubernetes.io/cluster/eks-ayushsharma.in" = "shared"
  }

  enable_dns_hostnames = true
  enable_dns_support   = true
  enable_nat_gateway   = true

  tags = {
    env     = "production"
    project = "my-project"
    owner   = "ayushsharma.in"
  }
}
Now let’s run terraform init to initialise the module.
Initializing modules...
Downloading terraform-aws-modules/vpc/aws 2.48.0 for vpc-ayushsharma-in...
- vpc-ayushsharma-in in .terraform/modules/vpc-ayushsharma-in

Initializing the backend...

Initializing provider plugins...
- Finding hashicorp/aws versions matching ">= 2.68.*, < 4.0.*"...
- Installing hashicorp/aws v3.5.0...
- Installed hashicorp/aws v3.5.0 (signed by HashiCorp)

Terraform has been successfully initialized!

You may now begin working with Terraform. Try running "terraform plan" to see
any changes that are required for your infrastructure. All Terraform commands
should now work.

If you ever set or change modules or backend configuration for Terraform,
rerun this command to reinitialize your working directory. If you forget, other
commands will detect it and remind you to do so if necessary.
Once the initialisation is complete, run terraform plan to review the list of resources it will create. Then, run terraform apply and let the module do the rest!
After 2 minutes, you should see these oh-so-sweet words validating your efforts.
Apply complete! Resources: 28 added, 0 changed, 0 destroyed.
Let’s check if our Terraform was successful using the AWS CLI:
> aws ec2 describe-vpcs --filter "Name=tag-key,Values=owner" "Name=tag-value,Values=ayushsharma.in"
{
    "Vpcs": [
        {
            "CidrBlock": "10.0.0.0/16",
            "DhcpOptionsId": "dopt-b58782d2",
            "State": "available",
            "VpcId": "vpc-xxxxxxxxxx",
            "OwnerId": "1234567890",
            "InstanceTenancy": "default",
            "CidrBlockAssociationSet": [
                {
                    "AssociationId": "vpc-cidr-assoc-0605eb19fa3eba5c0",
                    "CidrBlock": "10.0.0.0/16",
                    "CidrBlockState": {
                        "State": "associated"
                    }
                }
            ],
            "IsDefault": false,
            "Tags": [
                {
                    "Key": "Name",
                    "Value": "vpc-ayushsharma.in"
                },
                {
                    "Key": "project",
                    "Value": "my-project"
                },
                {
                    "Key": "env",
                    "Value": "production"
                },
                {
                    "Key": "owner",
                    "Value": "ayushsharma.in"
                }
            ]
        }
    ]
}
To summarise, re-using Registry modules can save countless man-hours from reinventing the wheel. These modules are used millions of times by many users who are fixing bugs and adding new features, and you can help the process by reporting or fixing any issues that you discover.
What’s next?
The VPC module above has 375 different inputs that give you fine-grained control over your VPC’s configuration.
Anton Babenko and many contributors maintain this open-source module. If you found the module helpful, you can browse the list of open issues and contribute to the stability and popularity of this project. Once you’re comfortable with this module, you can get adventurous and create your own!.
Thanks for reading all the way to the end. And happy coding :)